


Search Site


Getting Started
Accessing the editor
To access the website editor, login to Client Service Center (CSC).
If you do not have a login or forgot your password, please contact support.
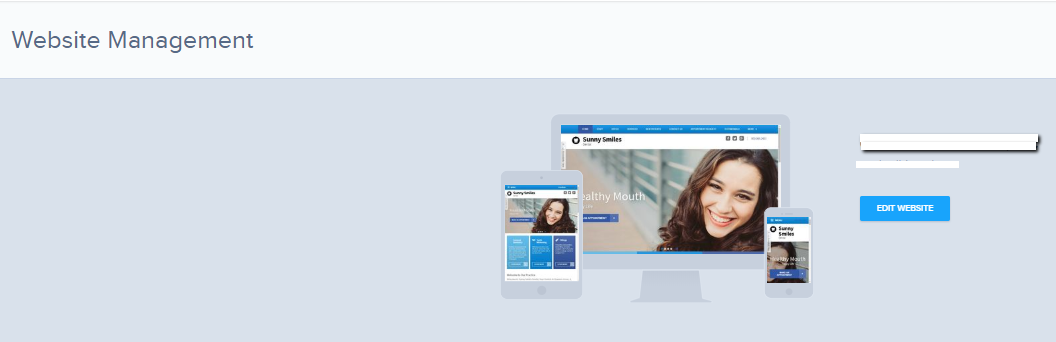
Once you login, click on website management on the left-hand menu pane and click on website editor once the website management window loads.
To use the editor, you must be on a desktop or laptop. The editor should not be used on a mobile device.
You will also need the most up to date version of Microsoft Edge, Google Chrome, Firefox, or Safari. We do not recommend using Internet explorer as it rewrites some code effectively eliminating some editing features.
Making Changes to your website.
The basic Layout of our homepages can be seen below. If you would like to add anything outside of what you see on the homepage other than adding pictures or content, please let us know and we can work with you to create new sections. Each section of your website is a self contained editing module and is edited individually as opposed to all of the code and content being in one container.
How the editor is built
The basic Layout of our homepages can be seen below. If you would like to add anything outside of what you see on the homepage other than adding pictures or content, please let us know and we can work with you to create new sections. Each section of your website is a self contained editing module and is edited individually as opposed to all of the code and content being in one container.
Header
The Header is the content that appears “above the fold” of your website. This term comes from the front page of a newspaper and refers to how you only see what is above the fold before picking up the newspaper, or in this case, scrolling down. This is the first impression that a potential patient will have of your business. Some parts of the header display on each page of your website while others only display on your home page.
The Accessibility Switch
The accessibility switch will convert your website to one that can be read by a screen reading program used by those who are blind, color blind, or who may have some sort of visual impairment or other disability. This is required to be on medical websites and cannot be removed. It appears on every page.
Main Navigation Module
This is the main way that a patient will navigate your website. This section will appear on every page and should include links to the most important and relevant information someone may want to see when visiting your website. The main navigation will appear on all pages of your website.
Phone Number Module
Your Phone number should appear in the top right-hand corner of each page. If you have multiple locations, we can replace this with a contact us button or similar call to action that can take your website visitor to a page listing the contact information for each office.
Social Media Links
Depending on the design, social media links will either be in the header, footer, or both. We can always customize this and add them in other areas upon request.
Logo Module
This area displays your practice name and/or logo.
Banner Photos (Slider) Module
The Slider will either display Rotating Banner Images, a Single static banner image, or a Video depending on the template you have selected.
Call to Action
This section will display Static Text such as “Care for Your Smile” or “Call us Today” depending on the template you have chosen, you may also have a call to action button included in this section that says “Appointment Request” which would take a patient to a page where they can request an appointment with your office. The text and call to action button can all be customized.
Featured Services Module
The Featured Services Module can be used to highlight popular, new, or high profitability services offered by your office. Depending on the design you chose, you may also see these featured services listed in a sidebar on your internal pages.
Main Body Text
This section is unique to each page and does not appear on other pages of your website.
Page Title/Welcome message
The page title/welcome message is a heading on your home page. On internal pages, this page title area will display the title of the page you are on.
Main Text Module
This module will be different for each page and allows you to add text and
Other Sections/modules
Some designs may also have a testimonials section or another area type of module depending on what comes with the design you selected. We can always add more sections to add other information to your design. Feel free to call or submit a support ticket to ask for a module to be added.
How to navigate through pages
To navigate through pages in your main navigation, click on the navigation item and then click Go to Link.

If the page that you are trying to access is
not on your navigation items list, click on the pages button on the left-hand side of your editor and then click on the edit page design button next to the page you would like to edit.
Adding and editing page content
How to add a page
To add a page, click on the pages icon on the left-hand side and then click on the “ADD NEW PAGE(S)” button.
You have the option of adding one page, or multiple pages at a time.
You have the option to choose the page type to create and the page layout. The default options are Text and Fullwidth. All pages will have a main text section. If you would like to create a page with a combination of these modules, please contact our support team.
Page types
- Text – Main text section will be added.
- Gallery – Adds a photo gallery module.
- Testimonials – Adds a testimonials module.
- Staff – Adds a staff module.
- Form – Adds a form module.
Page Layouts
- Sidebar – Adds a sidebar to your page.
- Home – Makes your page a copy of your home page layout.
- Fullwidth – The default option. Your content will take up the full width of your page.
- Blog – This layout will add a blog module.
- Articles – This layout will add an articles module.
- (Custom Options)- Custom created options added by our support team may also be displayed in this area.
Removing Pages
To remove a page from your website, click on the pages button on the left-hand side of your screen and then click on the delete icon next to the page you would like to delete.
How to publish your changes
To publish your changes, click on the publish button in the top right-hand corner of your screen.